Become an online surveys rockstar!
Whether you’re new to online surveys, or a pro, SurveyPolice can help you reach your online survey taking goals.
Part 1: Find Survey Panels to Join or Research
Part 2: Users Only: Review Survey Panels and GPT Websites
Part 3: Users Only: Using the Survey Tracker Tool
Part 1: Finding Survey Panels to Join or Research
If you’re wondering where to find online survey panels to join and find out more about on SurveyPolice, keep reading – this tutorial is for you!
Tip! Click the images on the left to make them bigger.

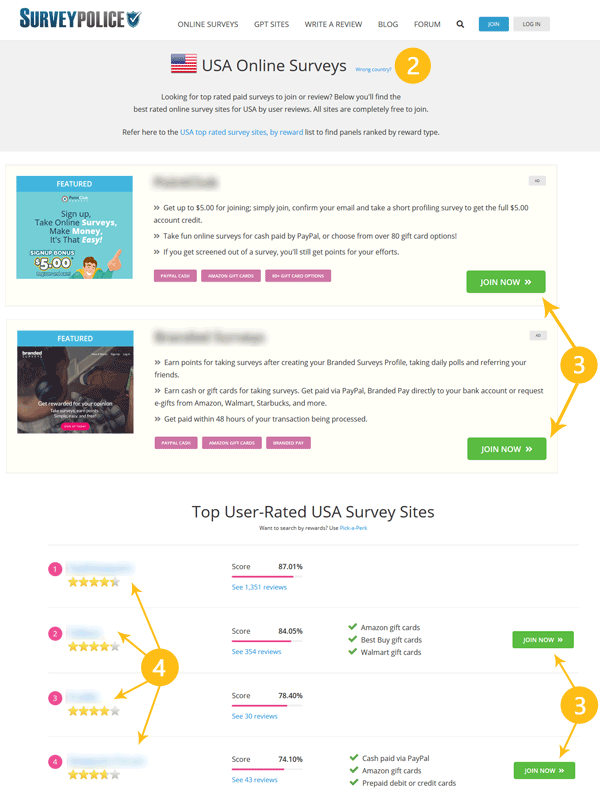
First, find survey panels relevant to you
1. Hover over the ‘Online Surveys’ link in the top navigation bar, select the “top rated online surveys” from the submenu.
2. You’ll automatically be shown surveys available in your country. If the wrong country is shown, select the “change country” link.
Join survey panels right away
3. Click the “Join Now!” buttons to immediately join survey panels.
Or, keep researching
4. Click the names of the survey panels that appeal to you most.
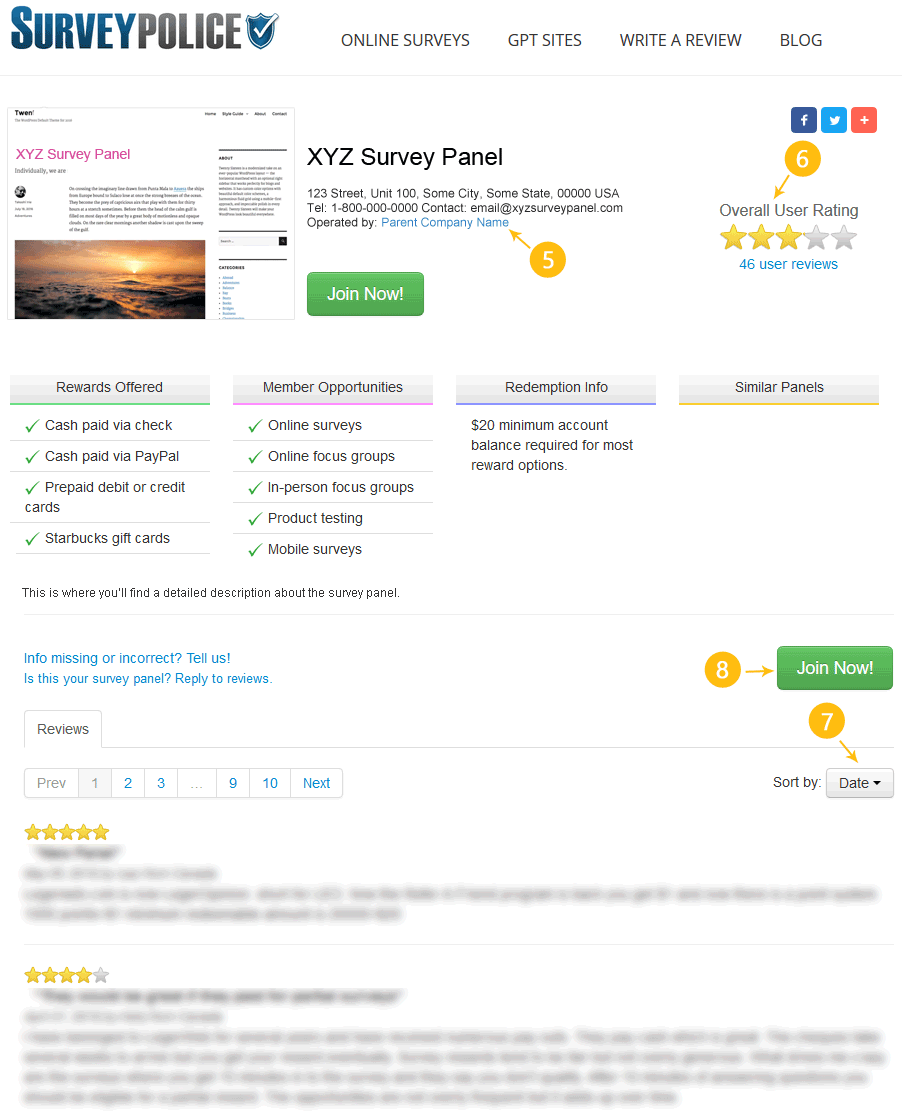
Keep researching, continued
5. This is where to find the contact info for a panel. Next to “Operated by:” will be the name of the survey company who administers the panel. Click the link to find out which other panels that survey company operates!
6. This is the overall user rating, calculated by our ranking algorithm.
7. Sort users reviews by date, highest rating, or by lowest rating.
8. When you feel ready, if you see this button, click it to join the survey panel for free!
Part 2: Users Only: Review Panels and GPT Sites
This short tutorial will guide you through how to leave and edit reviews for survey panels and GPT Programs on SurveyPolice.
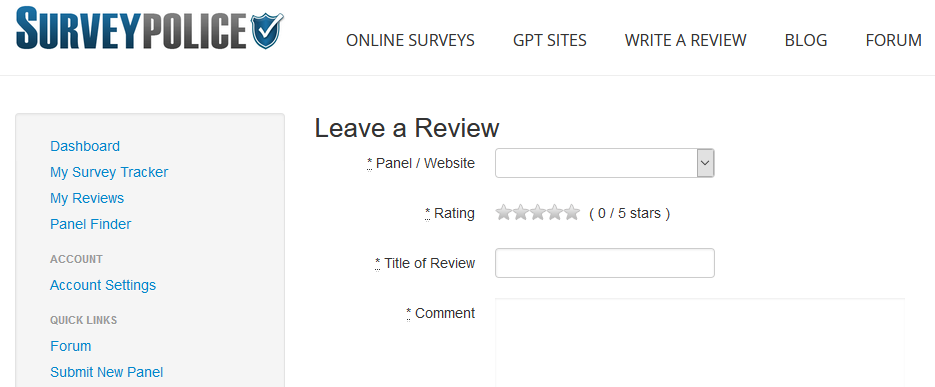
Leaving a Review for a Survey Panel or GPT Website


Accessing the reviews function
- Click the ‘Leave a Review’ link at the top of the website
OR
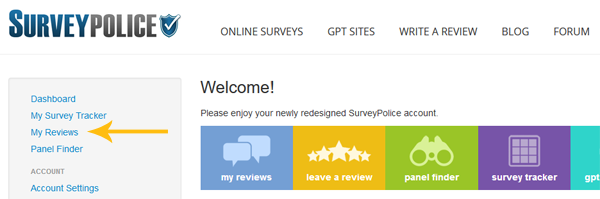
- Log in to your SurveyPolice account
- In your account dashboard, select the ‘My Reviews’ link on the left hand side
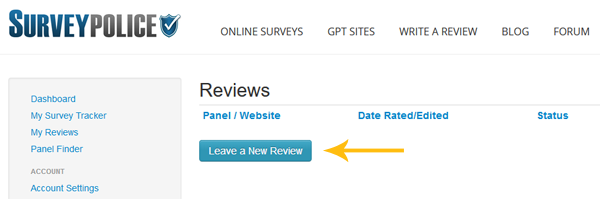
- Click the button ‘Leave a New Review’
Leave your review
- Enter your review, and hit “submit”. You will then see a green notice at the top that says “Review was successfully created”
- At this point your review will have a “pending” status. Your review will be published within 48 hours of submission providing it does not violate our feedback guidelines.
- Even with a “pending” review, you will see your star rating displayed under, “My Rating”, displayed under the panel’s website screenshot.
- You can also see your reviews and their statuses by accessing them under the ‘My Reviews’ link in your account dashboard.
Editing, deleting reviews
- Make sure you’re logged into your account, and click on the on the link that says ‘My Reviews’
- Simply click the “edit” button to edit the status of your review at any time, even if it is still pending
- Sort through your reviews by clicking on the top row of the table
Part 3: Users Only: Survey Panel Tracker
The Survey Tracker tool is an easy way to keep track of the surveys you complete. It’s always a good idea to keep a record of your activities with survey panels, and this tool allows you to do just that, in one convenient spot.
To use the tracker, log in to your SurveyPolice account
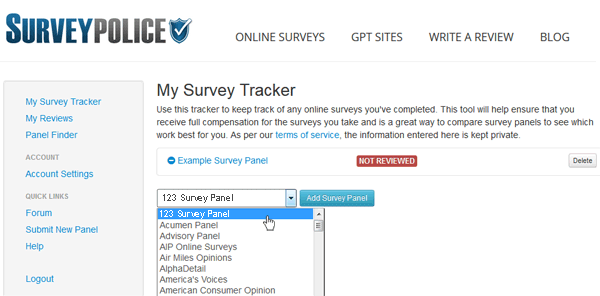
1. Click “My Survey Tracker” on the left menu.
2. In the dropdown list, select the panel you wish to track surveys with, and select “Add Survey Panel”.
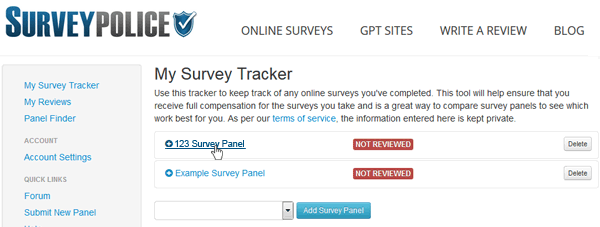
Open the panel
3. The survey panel will be added to your panel list.
4. Click the panel’s name to expand it.
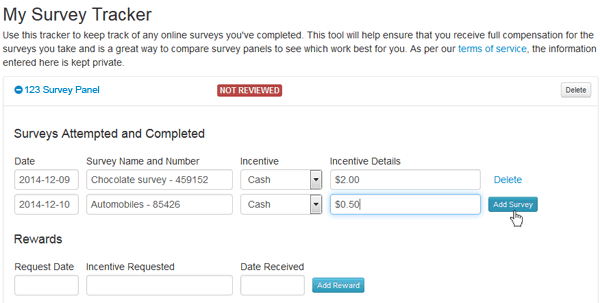
Start entering your surveys!
5. Fill out the information about the surveys your complete with that panel. Click the “add survey” button to ensure it gets added and is saved to your list.
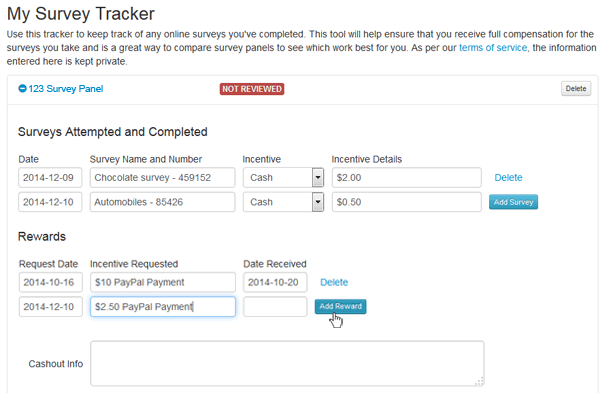
Enter rewards request information
6. When you request a reward, enter in the request date and the type of reward you requested. Click the “add reward” button when you’re done.
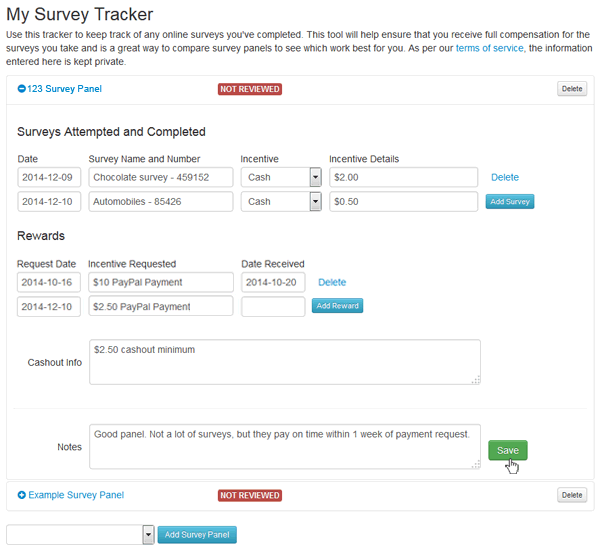
Add your notes!
7. Fill out the “cashout info” and “notes” boxes with information like minimum cashout amounts required, payment terms, your general feelings about the panel, etc.
Remember to press “save” when you’re done!
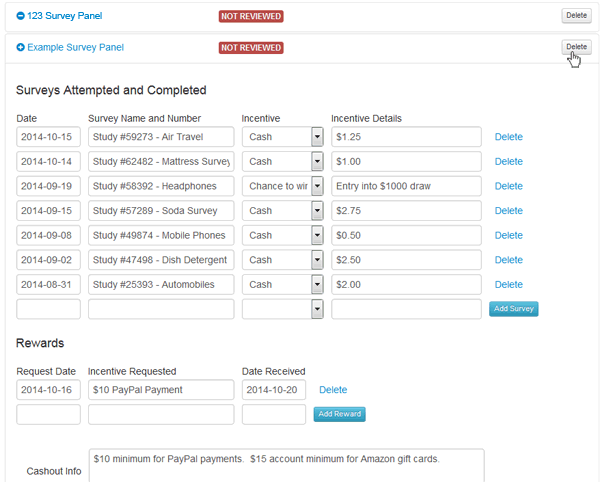
Removing panels
8. You can remove survey panels from your list at the click of a button. Simply hit the “delete” button next to the panel’s name.
Note: the Example Survey Panel is a full example of how to use the Tracker. Once you’ve mastered the ways of the Tracker tool, feel free to delete it!